Can I make holiday handmade press - on nails with decals?
Jul 04, 2025
Leave a message
Hey there! As a supplier of holiday handmade press-on nails, I often get asked, "Can I make holiday handmade press-on nails with decals?" Well, the short answer is yes, and I'm here to tell you all about it.
First off, let's talk about why decals are a game-changer for holiday press-on nails. Decals are like little stickers that you can easily apply to your nails to add a pop of color, pattern, or holiday-themed design. They're super versatile and can transform a plain set of press-on nails into a festive masterpiece. Whether it's a spooky Halloween design, a glittery Christmas motif, or a cheerful New Year's pattern, decals can help you create the perfect look for any holiday.
One of the great things about using decals on handmade press-on nails is that it's a relatively simple process. You don't need to be a professional nail artist to achieve amazing results. All you need is a set of press-on nails, some decals, and a few basic tools like tweezers and nail glue. Here's a step-by-step guide on how to make holiday handmade press-on nails with decals:
Step 1: Prepare Your Nails
Start by cleaning your natural nails thoroughly to remove any dirt, oil, or polish. You can use nail polish remover and a cotton ball to do this. Once your nails are clean, dry them completely.
Step 2: Choose Your Press-On Nails
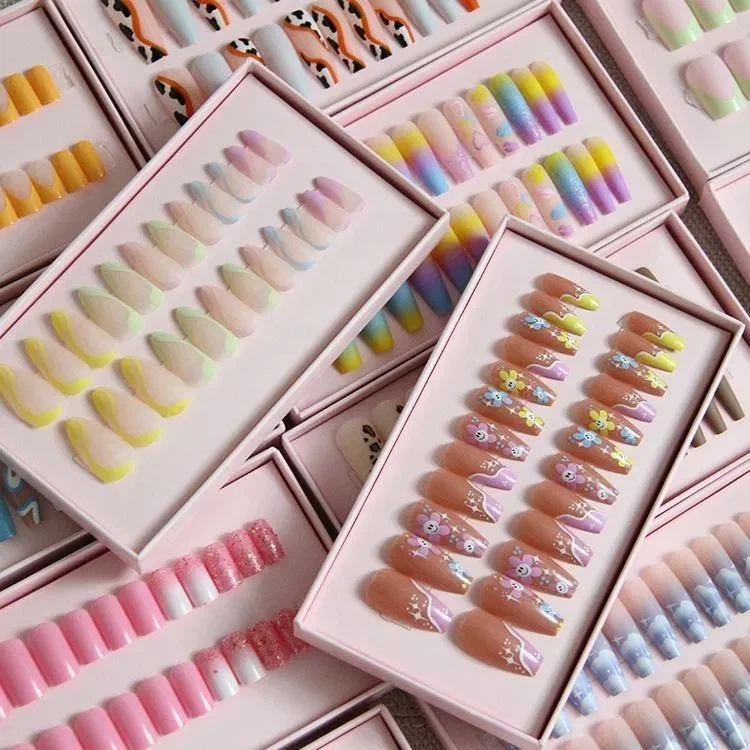
Select a set of press-on nails that fit your nail size and shape. You can find a wide variety of press-on nails in different lengths, shapes, and colors. For holiday-themed nails, you might want to choose a base color that complements the decals you'll be using. For example, if you're making Christmas nails, you could go for a red or green base.
Step 3: Apply Nail Glue
Apply a small amount of nail glue to the back of each press-on nail. Be careful not to use too much glue, as it can make the nails difficult to apply and may cause them to look messy. You can use a toothpick or a small brush to spread the glue evenly.
Step 4: Attach the Press-On Nails
Press each press-on nail firmly onto your natural nail, starting from the cuticle and working your way to the tip. Hold the nail in place for a few seconds to allow the glue to dry. Make sure the nail is aligned properly and that there are no gaps between the press-on nail and your natural nail.
Step 5: Select Your Decals
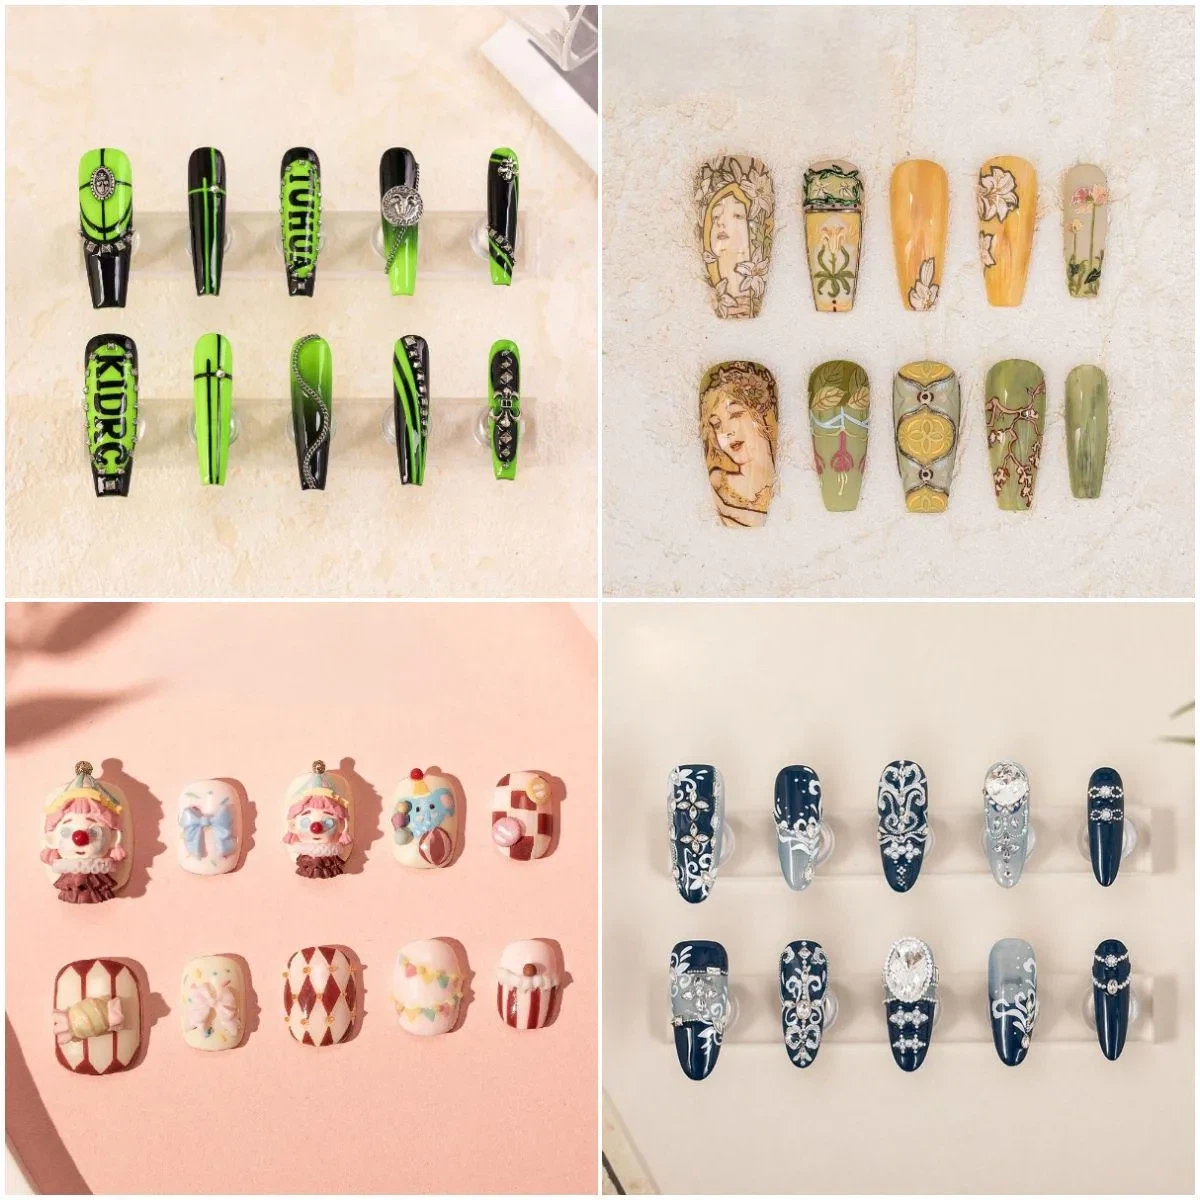
Choose the decals that you want to use for your holiday design. You can find a wide variety of decals in craft stores, online shops, or even make your own at home. Look for decals that are the right size and shape for your nails and that match the holiday theme you're going for.
Step 6: Apply the Decals
Use tweezers to pick up each decal and place it on the surface of the press-on nail. You can position the decals wherever you like, but it's a good idea to start with the center of the nail and work your way out. Press the decal firmly onto the nail to make sure it adheres properly.
Step 7: Seal the Decals
Once you've applied all the decals, apply a thin layer of top coat over the nails to seal the decals and protect them from chipping or peeling. Let the top coat dry completely before using your hands.
And that's it! You've just created a set of beautiful holiday handmade press-on nails with decals. Now, let's take a look at some holiday-themed press-on nails that you can create using decals.
New Year's Nails
For New Year's Eve, you can create a set of press-on nails with a glittery, festive design. Use silver or gold decals in the shape of confetti, fireworks, or the number 20XX (replace XX with the current year). You can also add some rhinestones or studs for an extra touch of glamour. Check out our New Year Giftbox-Short Almond-Press On Nails for some inspiration.
Christmas Nails
Christmas is all about red, green, and lots of glitter. You can use decals in the shape of snowflakes, Christmas trees, reindeer, or Santa Claus to create a cute and festive look. You can also add some red and green glitter to the nails for an extra sparkle. Our Christmas Snowflakes-Shimmering-Long Almond-Press On Nails are a great example of how to use decals to create a beautiful Christmas nail design.
Halloween Nails
Halloween is the perfect time to get creative with your nail design. You can use decals in the shape of pumpkins, bats, spiders, or ghosts to create a spooky look. You can also add some black and orange glitter to the nails for an extra Halloween touch. Check out our Halloween-Hand Painted-Short Almond-Press On Nails for some spooky inspiration.


As a supplier of holiday handmade press-on nails, I offer a wide variety of decals and press-on nails to help you create the perfect look for any holiday. Whether you're a professional nail artist or just someone who loves to do their own nails at home, I can provide you with high-quality products at affordable prices.
If you're interested in purchasing our holiday handmade press-on nails or decals, please feel free to contact me to discuss your needs and place an order. I'm always happy to help and look forward to working with you to create the perfect holiday nail designs.
In conclusion, making holiday handmade press-on nails with decals is a fun and easy way to add some festive flair to your nails. With a little creativity and the right tools, you can create beautiful, one-of-a-kind nail designs that are perfect for any holiday. So, go ahead and give it a try!
References
- "Nail Art Decals: A Step-by-Step Guide." Nail Art 101, accessed [date].
- "How to Apply Press-On Nails." Allure, accessed [date].
- "Holiday Nail Design Ideas." Cosmopolitan, accessed [date].