How to make round press - on nails blend with my natural nails?
Jun 24, 2025
Leave a message
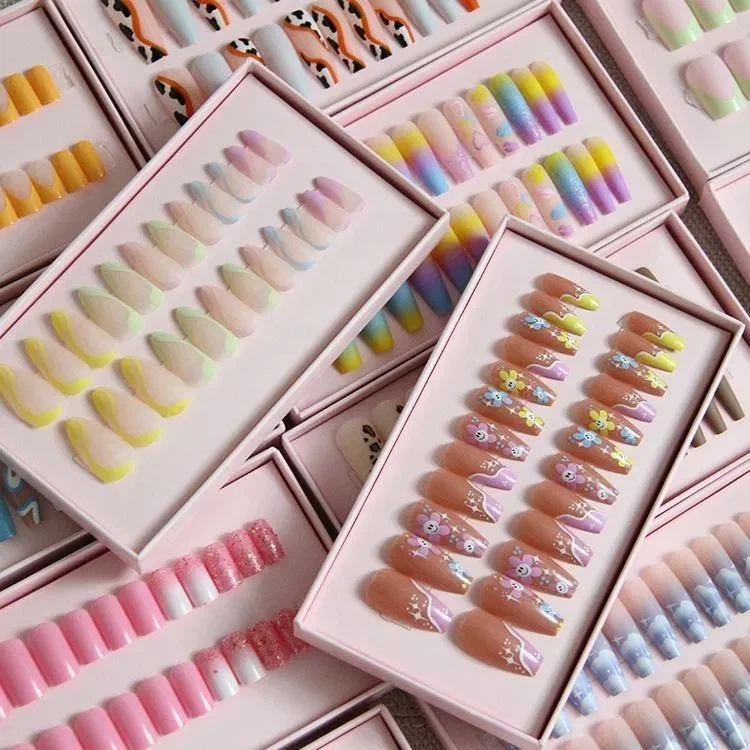
Round press-on nails have become a popular choice for those seeking a quick and convenient way to enhance their nails without the commitment of a salon visit. As a supplier of round press-on nails, I understand the importance of ensuring that these artificial nails blend seamlessly with natural nails. In this blog, I'll share some tips and techniques to help you achieve a flawless and natural look.
Understanding Your Natural Nails
Before you start applying round press-on nails, it's crucial to understand the characteristics of your natural nails. Take a close look at the shape, length, and color of your natural nails. The shape of your natural nails can vary from square, oval, round, to almond. Round press-on nails are designed to mimic the natural curve of the nail bed, so they are a great option for most nail shapes. However, if your natural nails have a very distinct shape, you may need to choose press-on nails that closely match that shape for a better blend.
The length of your natural nails also plays a significant role. If you have short natural nails, short round press-on nails like the Kitty Toes-Short Round Press On Nails will be a more natural-looking choice. On the other hand, if you have longer natural nails, you can opt for slightly longer press-on nails to maintain a proportional look.
Color is another important factor. Pay attention to the natural color of your nail beds and the surrounding skin. The goal is to choose press-on nails that complement your skin tone and natural nail color. For example, if you have fair skin, nude or light pink press-on nails can create a subtle and natural look. If you have darker skin, you can go for richer colors like browns or deeper pinks.
Preparing Your Natural Nails
Proper preparation of your natural nails is essential for a long-lasting and natural-looking application. Start by cleaning your nails thoroughly to remove any dirt, oil, or residue. You can use a gentle nail polish remover without acetone to clean the surface of your nails. Acetone can be harsh and may damage your natural nails, so it's best to avoid it.
Next, file your natural nails to a smooth and even surface. Use a fine-grit nail file to gently shape the edges of your nails and remove any rough spots. Be careful not to file too aggressively, as this can weaken your nails. If your natural nails have a ridge or uneven surface, you can use a nail buffer to smooth it out.
After filing, push back your cuticles gently using a cuticle pusher. This will create a clean and even base for the press-on nails. However, avoid cutting your cuticles, as this can lead to infection and damage. You can also apply a cuticle oil to keep your cuticles moisturized and healthy.
Choosing the Right Size and Shape
One of the keys to making round press-on nails blend with your natural nails is choosing the right size and shape. Most round press-on nails come in a variety of sizes to fit different nail widths. To find the perfect fit, compare the size of the press-on nails to your natural nails. Start by placing the press-on nail on your nail bed without applying any adhesive. Make sure the nail covers the entire nail bed without overhanging the sides or the tip.
If the press-on nail is too large, it may look unnatural and may not stay in place properly. If it's too small, it won't cover your natural nail completely, leaving a gap around the edges. In some cases, you may need to trim the press-on nail to fit your natural nails better. You can use a pair of nail clippers or scissors to carefully trim the excess length or width. Just make sure to file the edges smooth after trimming to avoid any sharp or rough edges.
Applying the Press-On Nails
Once you have prepared your natural nails and chosen the right size and shape of press-on nails, it's time to apply them. There are two main methods of applying press-on nails: using adhesive tabs or nail glue.
Using Adhesive Tabs
Adhesive tabs are a popular choice for their convenience and ease of use. Start by peeling the protective film from one side of the adhesive tab. Place the adhesive tab on the back of the press-on nail, making sure it covers the entire surface. Then, peel the protective film from the other side of the adhesive tab.
Align the press-on nail with your natural nail and press it firmly onto your nail bed. Start from the base of the nail and work your way towards the tip, applying even pressure to ensure a secure bond. Hold the press-on nail in place for a few seconds to allow the adhesive to set. Repeat this process for each nail.
Using Nail Glue
Nail glue provides a stronger and more long-lasting hold. Apply a small amount of nail glue to the center of your natural nail. Be careful not to use too much glue, as it can cause the press-on nail to lift or become uneven.
Place the press-on nail on your natural nail and press it firmly for about 30 seconds to a minute. Make sure to align the press-on nail properly and apply even pressure to ensure a good bond. Hold your hand still for a few minutes to allow the glue to dry completely.
Blending the Edges
To make your press-on nails look even more natural, it's important to blend the edges with your natural nails. You can use a nail polish that matches the color of your press-on nails to paint the edges of your natural nails. This will create a seamless transition between the press-on nails and your natural nails.
Another technique is to use a nail art pen or a small brush to apply a thin layer of clear nail polish along the edges of the press-on nails. This will help to smooth out the edges and make them less noticeable.
Maintaining the Natural Look
Once you have applied your round press-on nails, there are a few things you can do to maintain a natural look and ensure their longevity. Avoid exposing your nails to excessive water or harsh chemicals, as this can cause the press-on nails to lift or the adhesive to weaken. When doing household chores or working with water, wear gloves to protect your nails.
If you notice that one of your press-on nails starts to lift or become loose, you can use a small amount of nail glue or adhesive tab to reattach it. However, if the press-on nail is severely damaged or no longer looks natural, it's best to remove it and replace it with a new one.

Regularly moisturize your natural nails and cuticles with a nourishing cuticle oil or hand cream. This will keep your nails healthy and prevent them from becoming dry and brittle.
Conclusion
Making round press-on nails blend with your natural nails is a combination of proper preparation, choosing the right size and shape, and applying them correctly. By following these tips and techniques, you can achieve a flawless and natural look that enhances your nails without sacrificing their health.
As a supplier of round press-on nails, I'm committed to providing high-quality products that are easy to apply and look natural. If you're interested in purchasing our round press-on nails or have any questions about our products, please feel free to contact us for more information and to discuss your purchasing needs.
References
- "The Ultimate Guide to Press-On Nails" by Nail Magazine
- "How to Apply Press-On Nails Like a Pro" by Beauty Insider