

 한국어
한국어 සිංහල
සිංහල Ελληνικά
 Français
 বাংলা
বাংলা O'zbek
 नेपाली
 سنڌي
سنڌي پښتو
پښتو Български
 简体中文
简体中文Comprehensive Guide to Applying and Removing Press-On Nails: Key Precautions
May 14, 2025
Leave a message
Introduction
As press-on nails become increasingly popular, many consumers suffer from nail damage due to improper handling. Most problems stem from incorrect application or forceful removal. This article will provide a step-by-step guide on the entire process, from preparation to scientific removal, helping you protect your nail health.
Considerations Before Application

1. Check Nail and Skin Condition
Within 24 hours before application, inspect your nails and surrounding skin. If there are any issues such as cracked nails, redness in the nail grooves, or fungal infections (like onychomycosis), discontinue the use of press-on nails. For healthy nails, clean the surface grease with an alcohol pad and gently file the nail surface with a nail buffer to ensure a secure fit for the press-on nails.
2. Choose Safe Materials
Prioritize press-on nails with "hypoallergenic certification." Avoid glues containing formaldehyde or toluene. Before first use, test the nail piece on the inner side of your wrist for 48 hours to ensure no redness or itching occurs before formal application.
Core Principles During Application
1. Accurate Nail Shape Matching
Measure the width of the widest part of your nail and select a nail piece that is 1-2mm smaller than your natural nail (allowing space for contraction). If the curvature of the nail piece does not match your natural nail, use a hairdryer to heat the back of the nail piece for 10 seconds and gently press it to adjust to a natural curve.
2. Control Glue Amount and Position
When using jelly glue, press it at three points: the root, middle, and tip of the nail, squeezing out any air bubbles and holding for 20 seconds. The amount of glue should cover a little more than half of the nail surface; too much glue can cause it to overflow and irritate the skin around the nail edge. Avoid exposure to water within 2 hours after application to ensure a strong bond.

Precautions When Removing Press-On Nails
1. Soften the Adhesive
Soak a cotton pad in warm water or specialized nail polish remover and wrap it around the nail for 10 minutes. Never forcibly tear off the nail piece, as this can remove the top layer of your natural nail, making it thinner and more prone to breaking.

2. Properly Remove the Nail Piece
Use an orange wood cuticle pusher to gently pry open a gap at the edge of the nail piece and slowly lift it at a 45-degree angle. If you encounter resistance, re-soak the glue in warm water. After removal, apply nail strengthening oil to the nail surface, focusing on moisturizing the nail root and cuticle area to repair damaged skin.

Conclusion
The correct application and removal of press-on nails can extend their lifespan and protect your natural nails. It is recommended to give your nails a 2-3 day break every week to allow them to "breathe." The tutorial above can help you better apply and remove press-on nails.
DH Nails: Wholesale and Custom Press-On Nails for Your Business
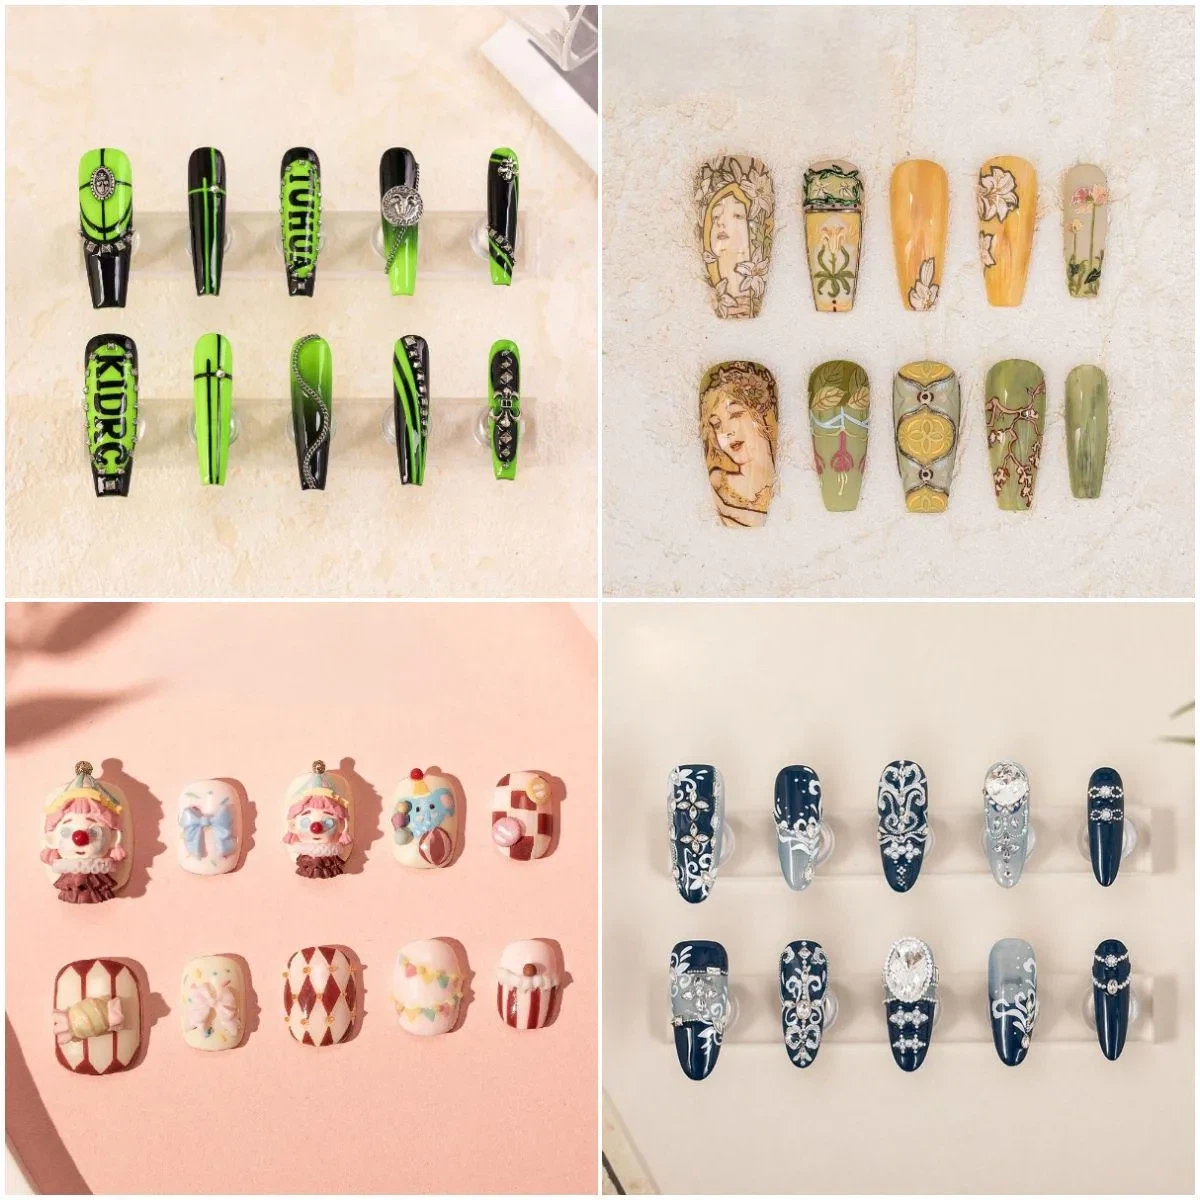
As a professional manufacturer of press-on nails, DH Nails offers bulk customization services, and each pack of press-on nails comes with jelly glue, adhesive, and an orange wood cuticle pusher. If you want to customize a specific design, please send us a picture and contact us immediately!